How to Install Glue Down Luxury Vinyl Plank Flooring
When it comes to installing vinyl planks, it is important to follow the instructions provided by the manufacturer. First, prepare your subfloor. Ensure that it is clean and free of any debris or holes. Then, acclimate your planks for 48 hours in a temperature between 65 and 85 degrees Fahrenheit. To make your job easier, work from multiple boxes of planks. This will help minimize repeated patterns and will ensure a more natural floor finish.
Next, apply the glue. The glue should be transparent and not yellow. It should also be thick enough to stick to the planks. Make sure that the glue is not too wet because it can get into the seams and cause a messy installation. To ensure even bonding, use a three-section floor roller that weighs about 100 pounds.
Glue-down vinyl plank flooring is much more durable than floating floors, which means that it’s the best choice for commercial settings. And it’s much cheaper. It’s also easier to install than floating floors. However, you’ll need more experience and know-how to properly install glue-down vinyl plank flooring.
After ensuring that the subfloor is smooth, you can begin installing the planks. Install them in an angle and snap pattern, leaving a 1/4-inch space between them and the wall. Make sure the tongue-and-groove connectors are aligned and that the seams are properly aligned. You can use a rubber mallet or a tapping block to help them lock into place.
The first step is to remove the old flooring. Since vinyl is thinner than most hardwoods, it can be installed over tile, which makes it easier to handle. The glue used for installing the planks is high in VOCs and, therefore, not eco-friendly. However, if you’re installing a new floor over an existing one, you can easily remove the old flooring with a razor scraper.
Once the adhesive is dry, roll the vinyl sheet into the adhesive. Don’t try to lay it into the adhesive directly because this can introduce air bubbles. Then, use a 100-pound floor roller to press it into the adhesive. Start from the center of the sheet and work your way to the edges. This will remove any air bubbles that have accumulated.
The next step in Luxury vinyl plank flooring installation involves installing feature strips or textured strips. These strips fit in between the tiles and provide a grout-like border. While they are not compatible with click LVT, they do add to the beauty of luxury vinyl flooring. They should also be installed over a baseboard.
When it comes to installing glue-down luxury vinyl flooring, it’s best to hire a professional. Although it’s possible to do the work yourself, professional installers take less time and are cheaper. Using a professional installation team will ensure the quality of the flooring. A professional installer will also have an expert eye for detail. Ultimately, it’s up to you which option works best for your home and budget.
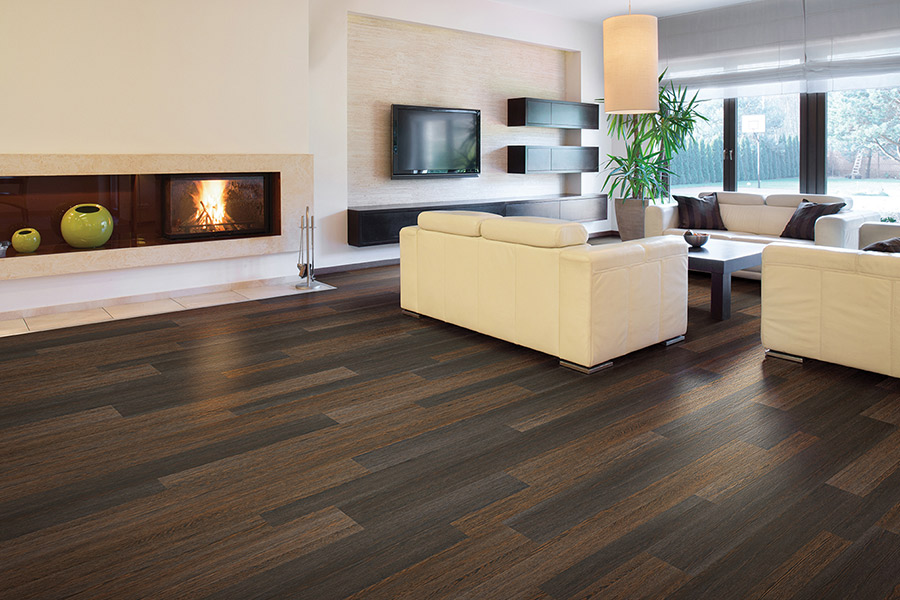
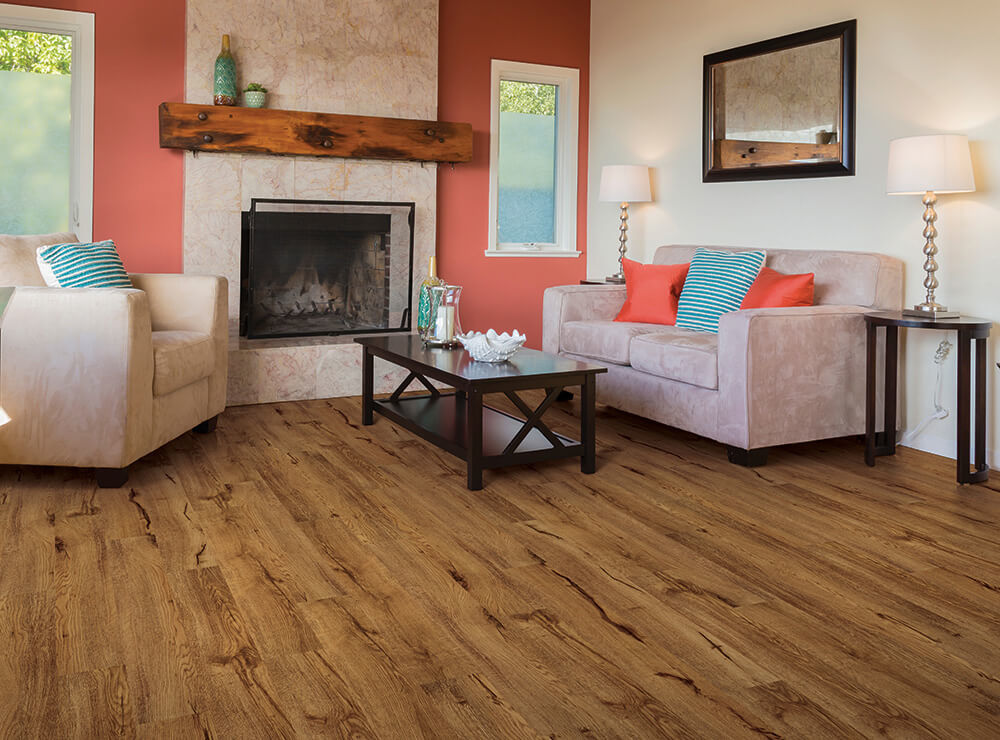
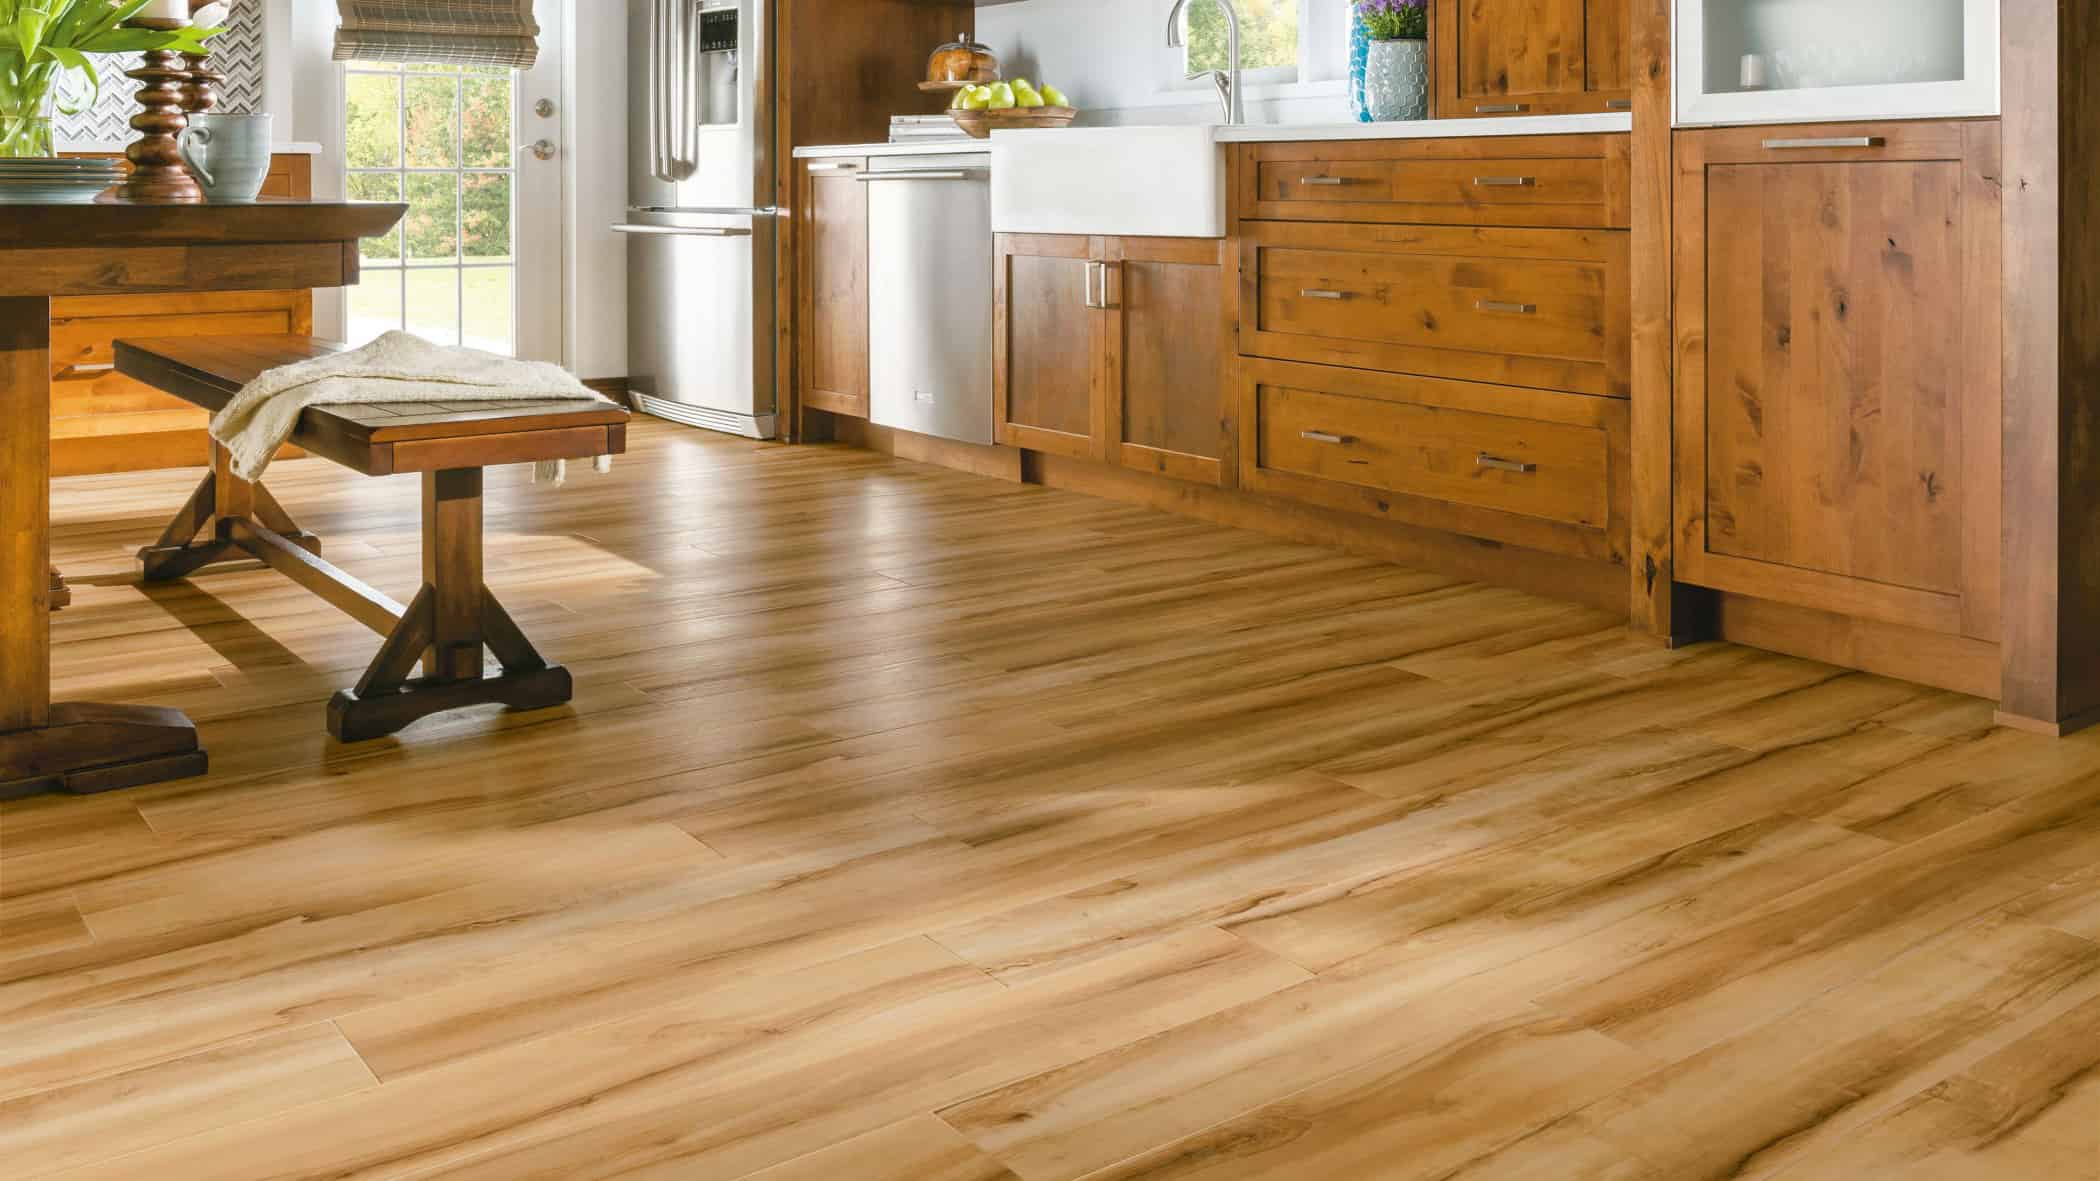
Luxury vinyl plank flooring is becoming increasingly popular for many reasons. It is durable, waterproof, and easy to install. And with realistic stone and wood patterns available, it can be the perfect choice for a bathroom. The best part is that it is also extremely versatile. In addition to being waterproof, vinyl plank flooring is comfortable underfoot and can reduce noise.
Vinyl plank flooring is one of the easiest types of flooring to install yourself, but it can still be time-consuming. It can also cost between $2 and $7 per square foot. And while DIY installation might save you money, mistakes can cost you thousands of dollars. If you’re unsure of the process, you should consider hiring a professional installation company to get the job done right. Not only will this save you money, but many professional flooring contractors also offer warranties for their work.