Glide-Lock Cabinets And Flooring

How to Install Kitchen Cabinets the Right Way

You must take the time to do it right when you’re looking to install kitchen cabinets. That means researching the right materials for the job and correctly installing kitchen cabinets. Below you will learn some of the best ways to install kitchen cabinets in your home right away.
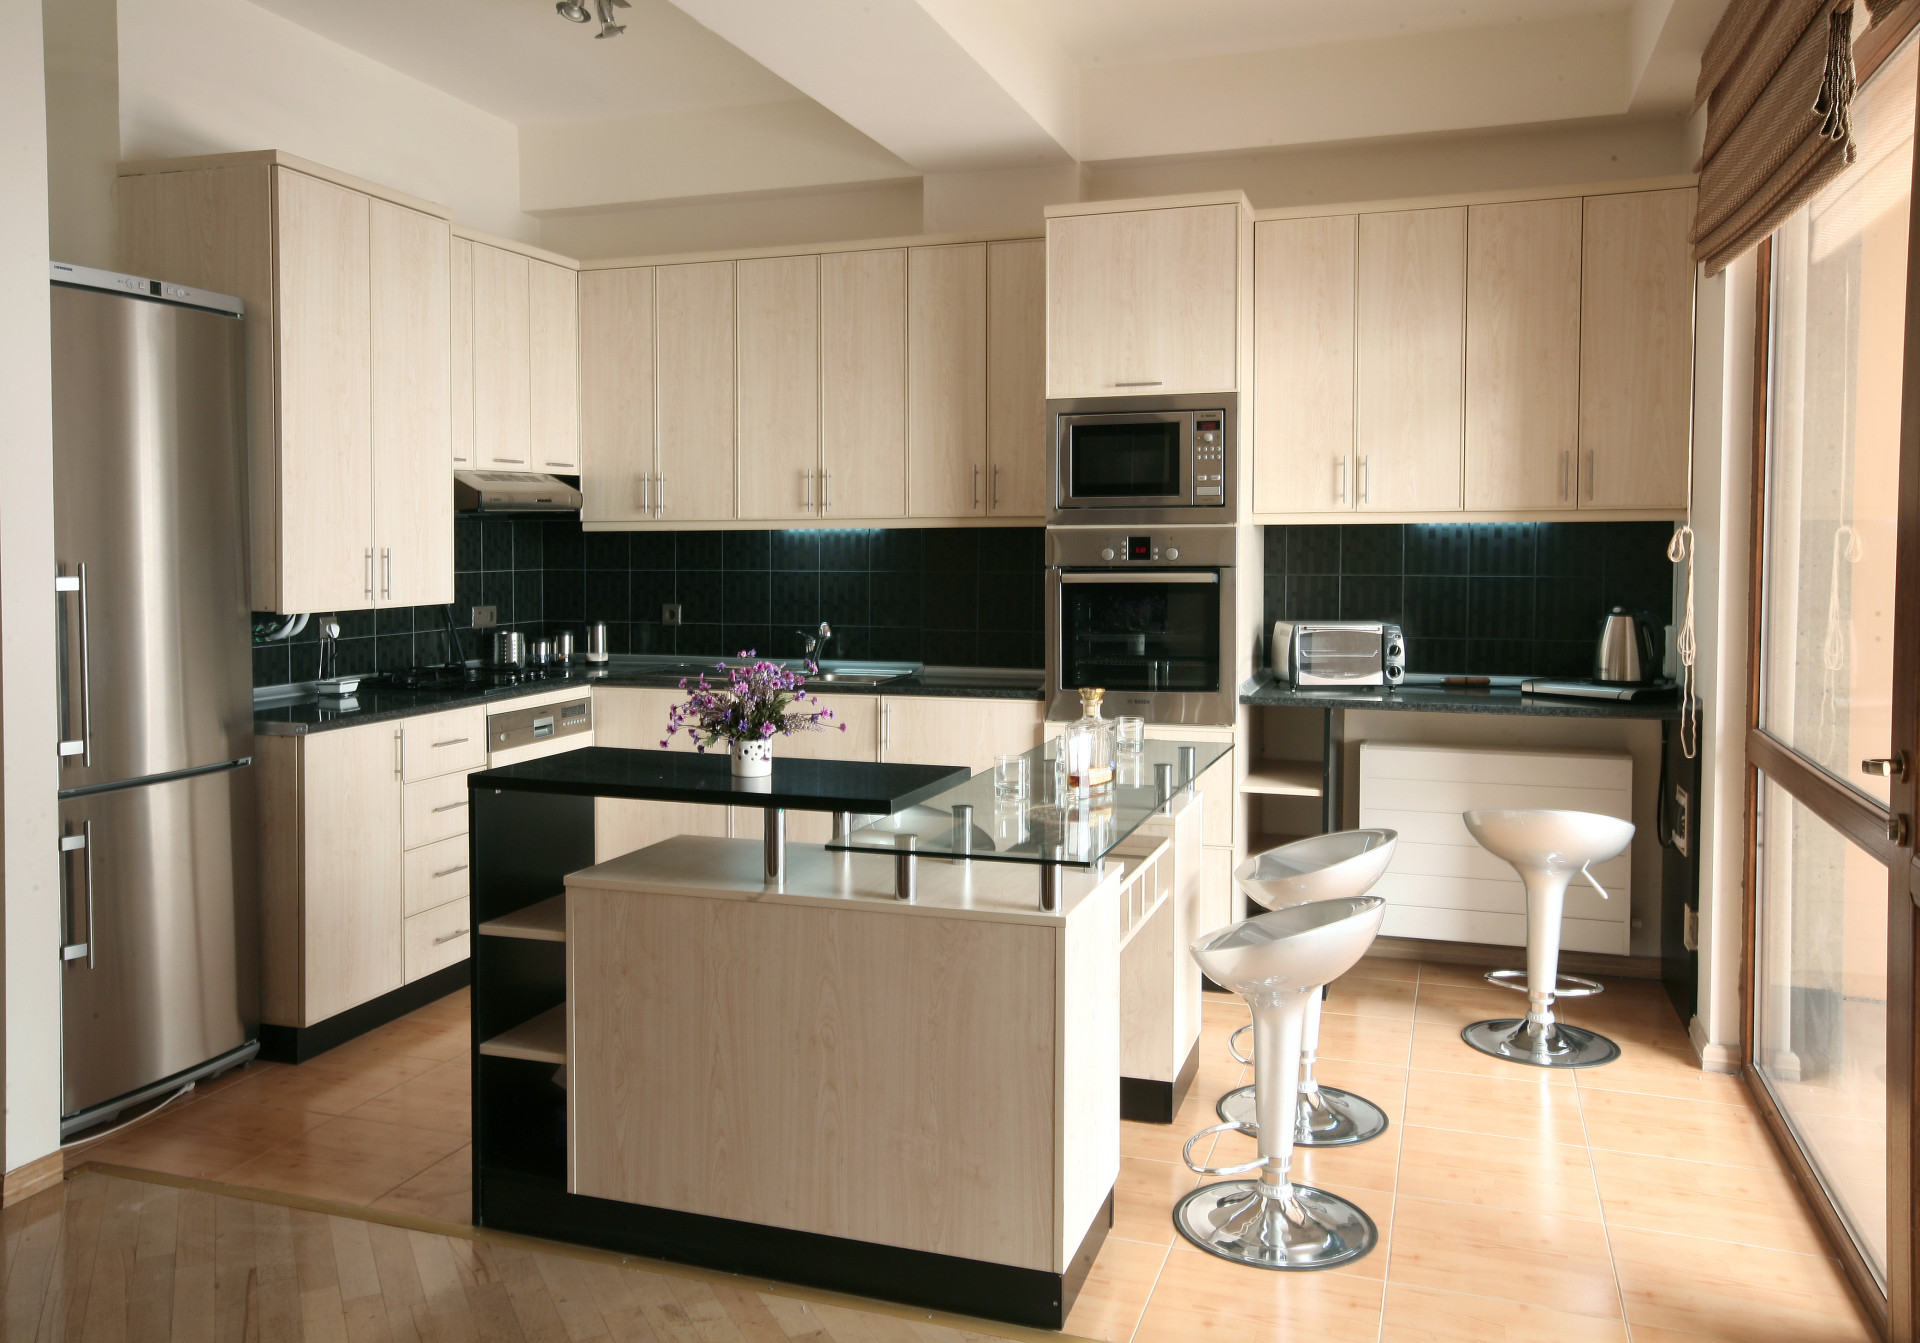
  • Layout your kitchen

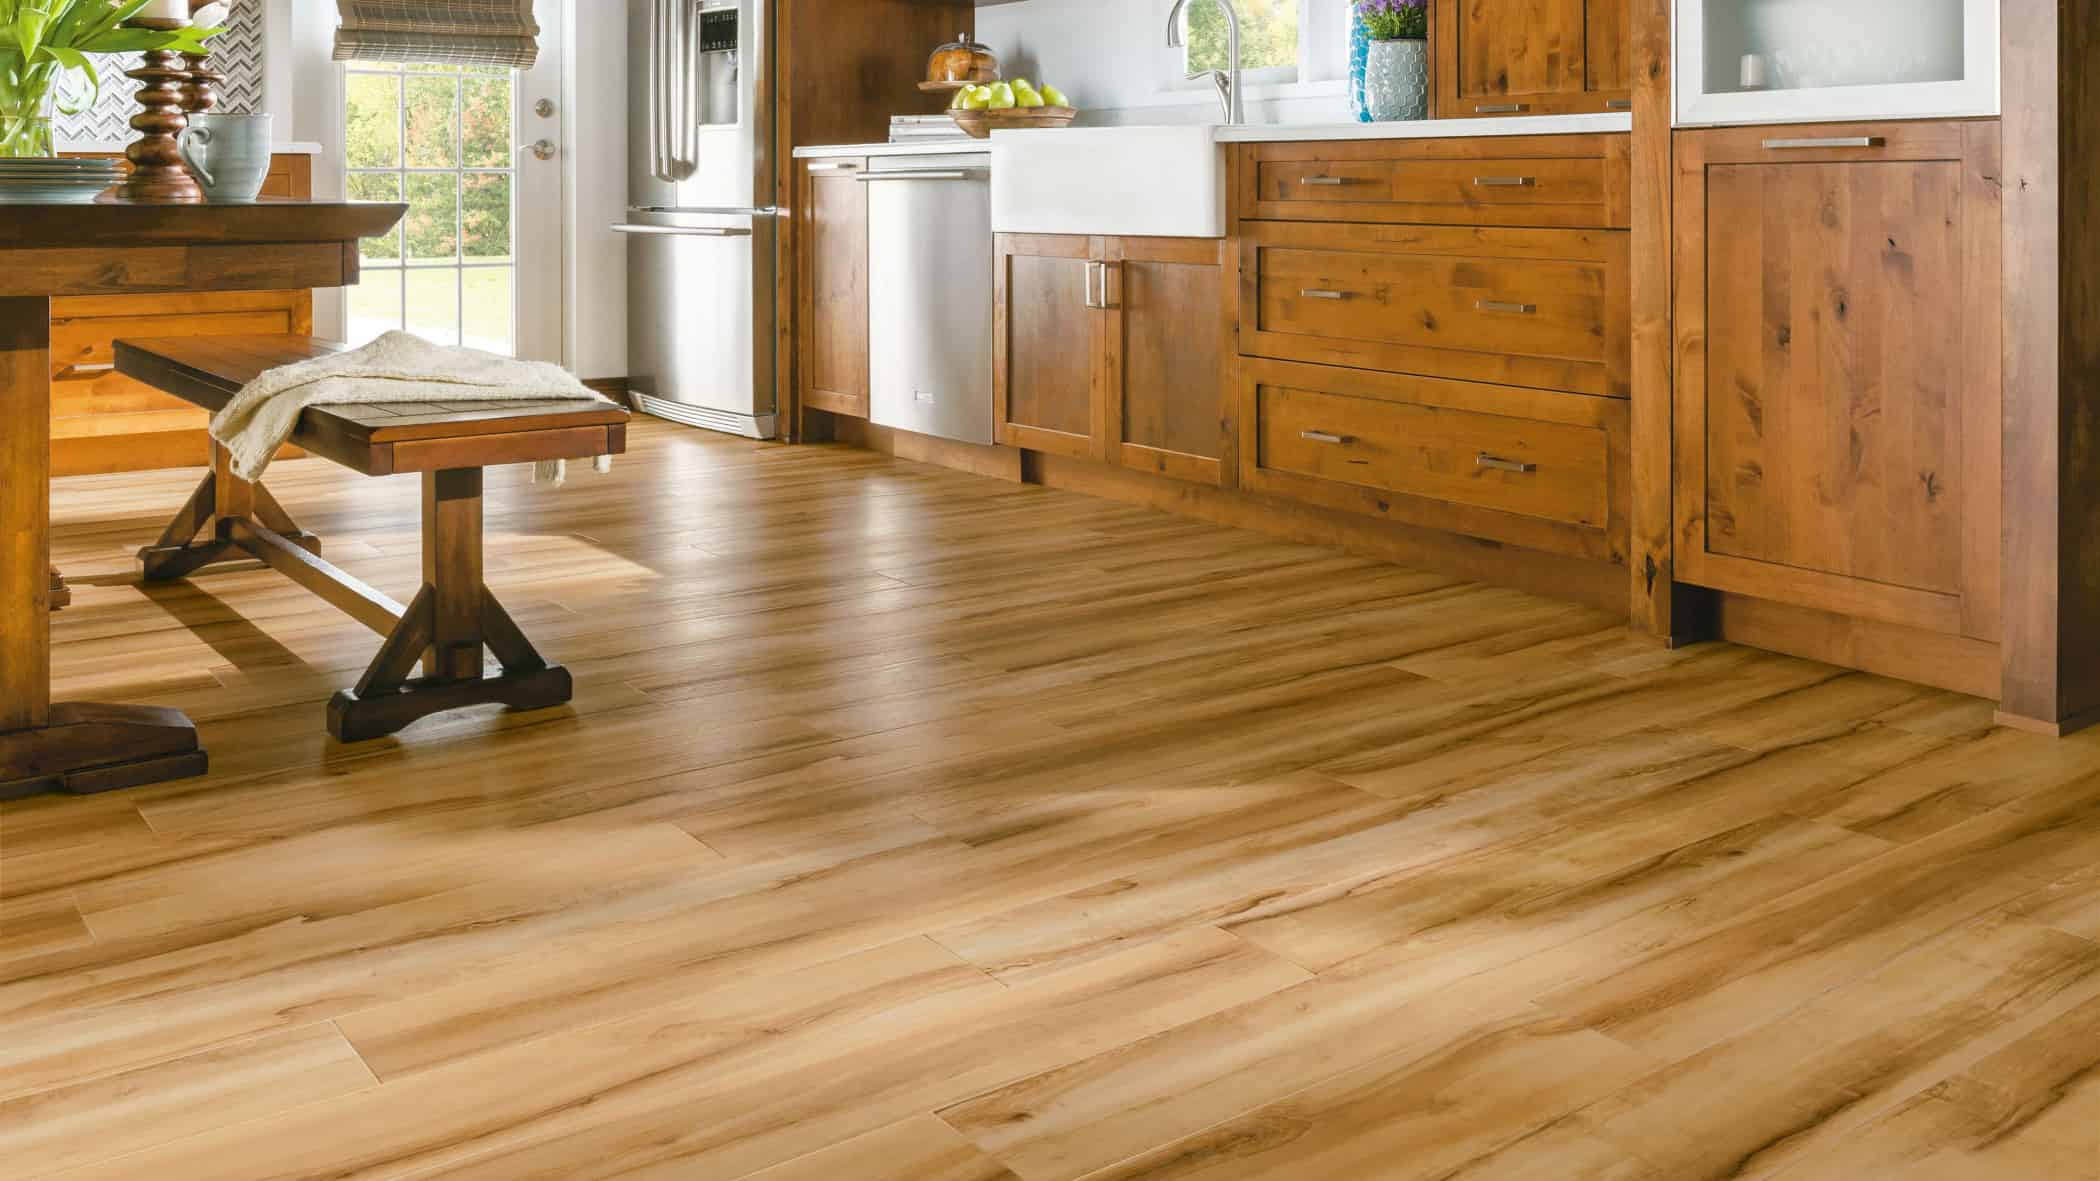
Choosing a proper kitchen layout is important in making the most of your space. A good kitchen layout should be functional and look good. You may want to consult a kitchen designer to ensure your dream kitchen becomes a reality. The kitchen triangle is a useful guideline for deciding on a kitchen layout. It consists of three main appliances and three key work zones. These areas help to ensure ergonomic movement throughout the kitchen.

There are many kitchen layouts to choose from. Each one has its own set of advantages and disadvantages. You can choose from a classic kitchen layout, a modern layout, or a quirky layout. You can also opt for a bespoke kitchen design. This is more expensive, but it can add a touch of uniqueness to your home. A kitchen island is a great way to make the most of a limited space. The key is to make sure that you can easily get access to your major appliances.
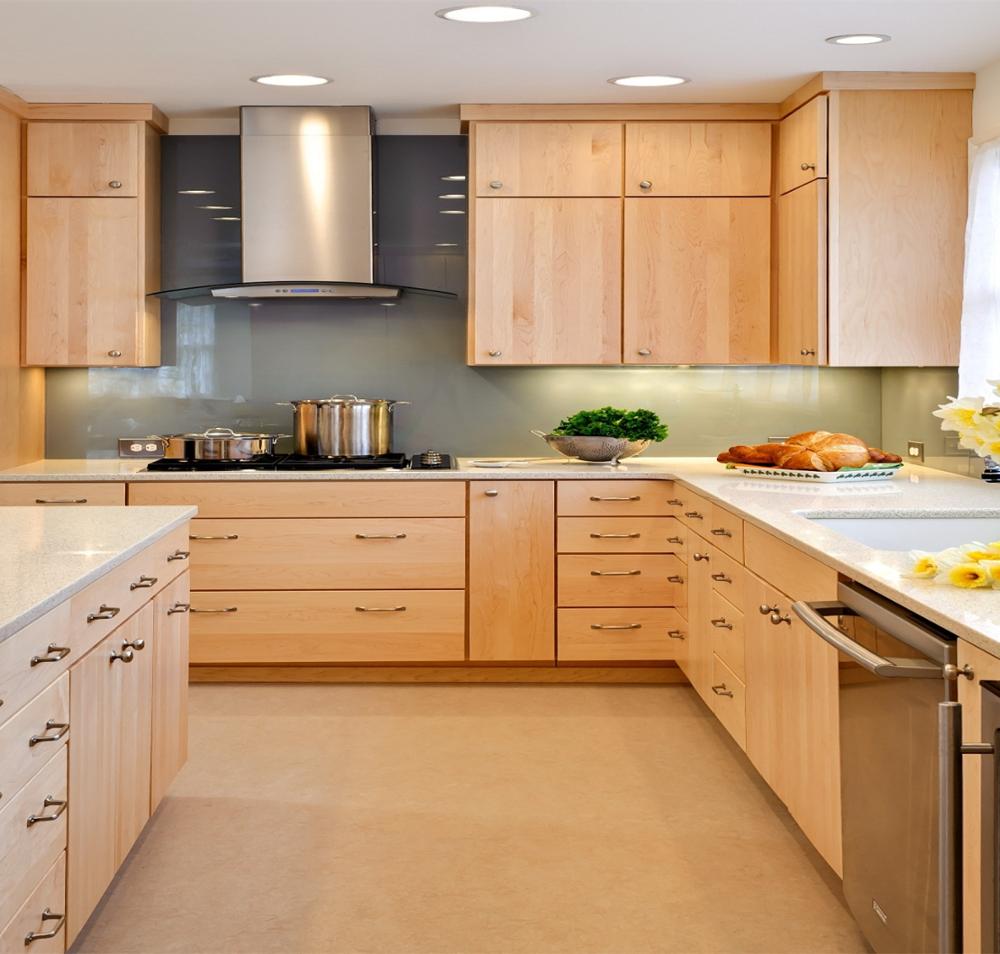
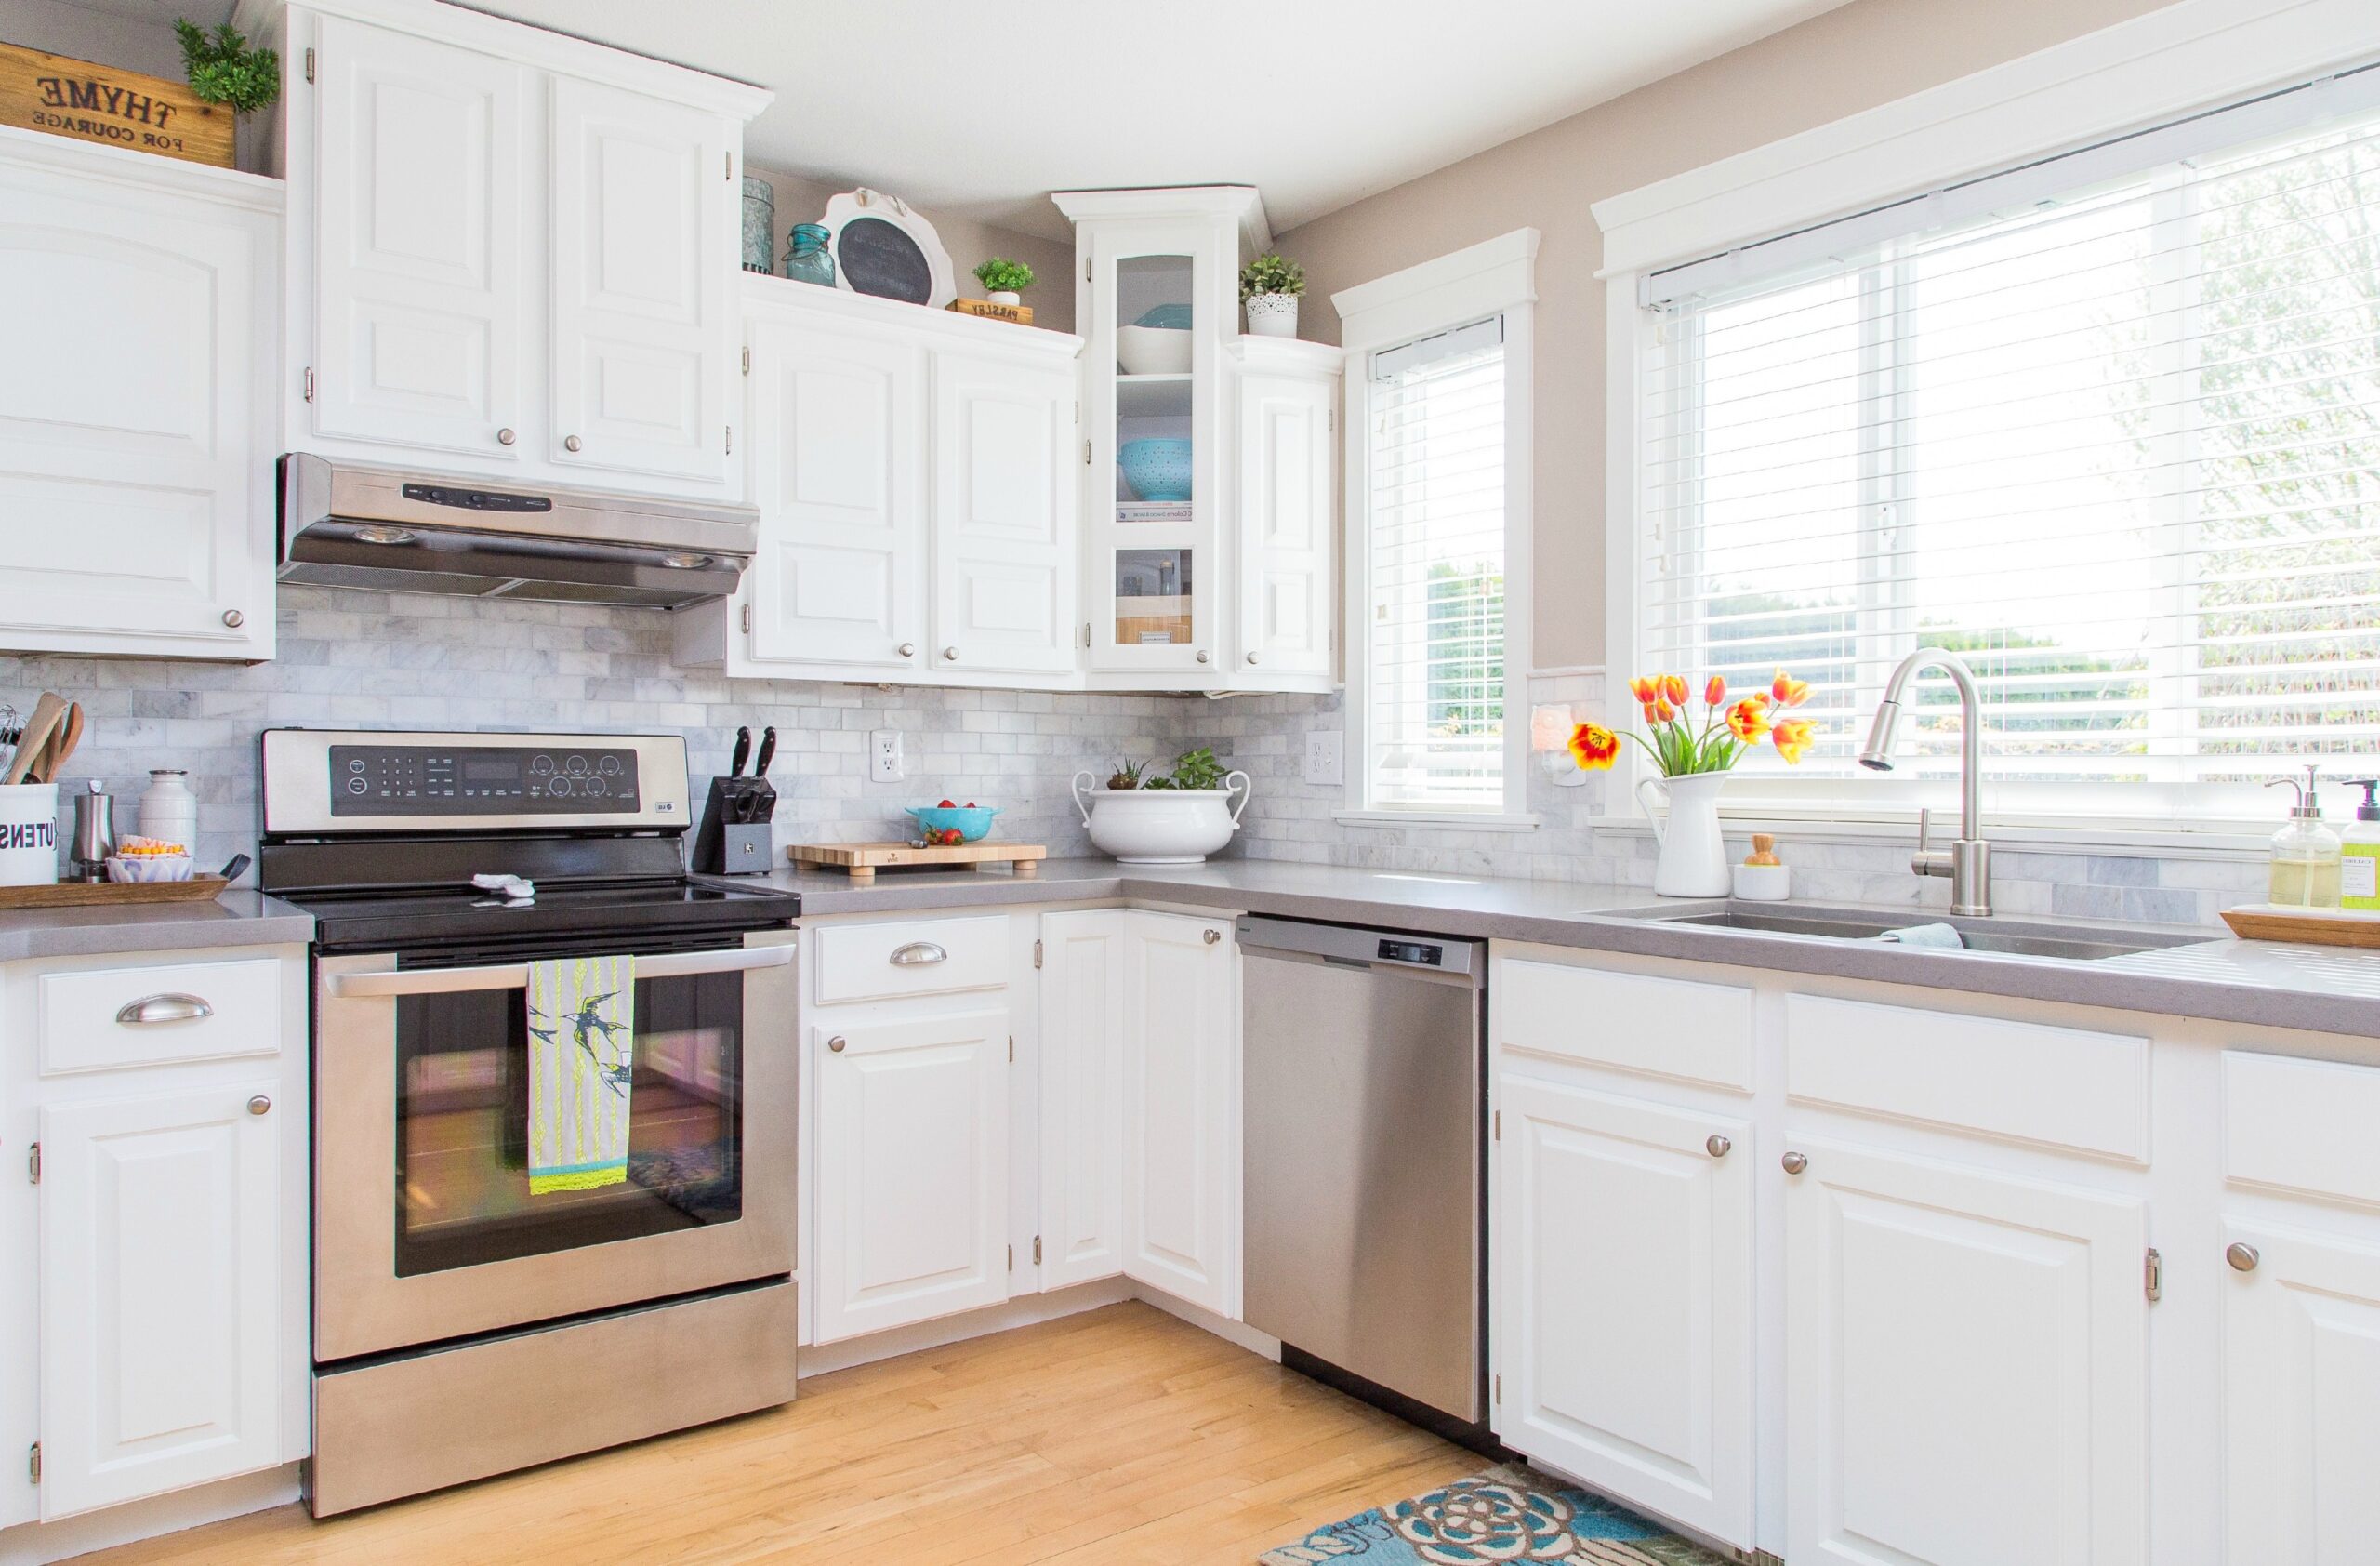
Whether you are planning to replace old cabinets or install new ones, it is important to test the level of your kitchen cabinets before installing them. Failure to do so can cause problems with the installation. This article will tell you how to do this properly.

  • The first step is to use a stud finder to locate studs in the wall. Then, draw a level line along the wall. This will act as a guide for the hanging of cabinets.
  • Once you have marked the studs, it is time to measure your cabinets. You should measure the height of the cabinets, both the base and the upper. This will allow you to determine the distance between the base cabinets and the base of the upper cabinets.
  • The next step is to place shims under your cabinets. This will level the cabinet so it will plumb against the wall. Once you are sure that the cabinet is level, you can place it on the studs. Then, you can attach the cabinet to the studs with screws.

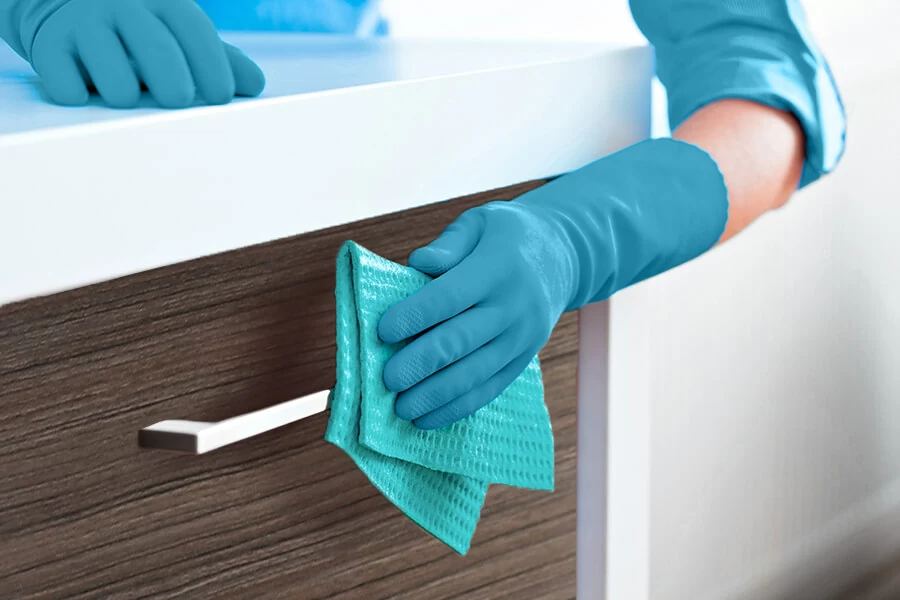
.    Fill gaps after installation

Whether installing kitchen cabinets or remodeling your existing ones, you may need to fill gaps. Several types of fillers are available, and the type you need will depend on the size of the gaps. A simple wood filler can be used if you have a small gap. This will fill the gap and make it look seamless. However, you may need a more durable filler if you have a large gap. You can also use expandable foam to fill the gap. This will reduce the amount of caulking that is required.

For larger gaps, you can use filler strips. These strips are attached to the cabinet frame and doors. They come in various sizes, some being as wide as three inches. The strips are then attached with wood glue or silicone. These strips are designed to be installed without removing the cabinet. Before installing a gap filler, you should thoroughly clean the cabinet and wall. Dust, debris, and painter’s tape should be removed from the area. You should then ensure that the caulk does not leak into the woodwork.
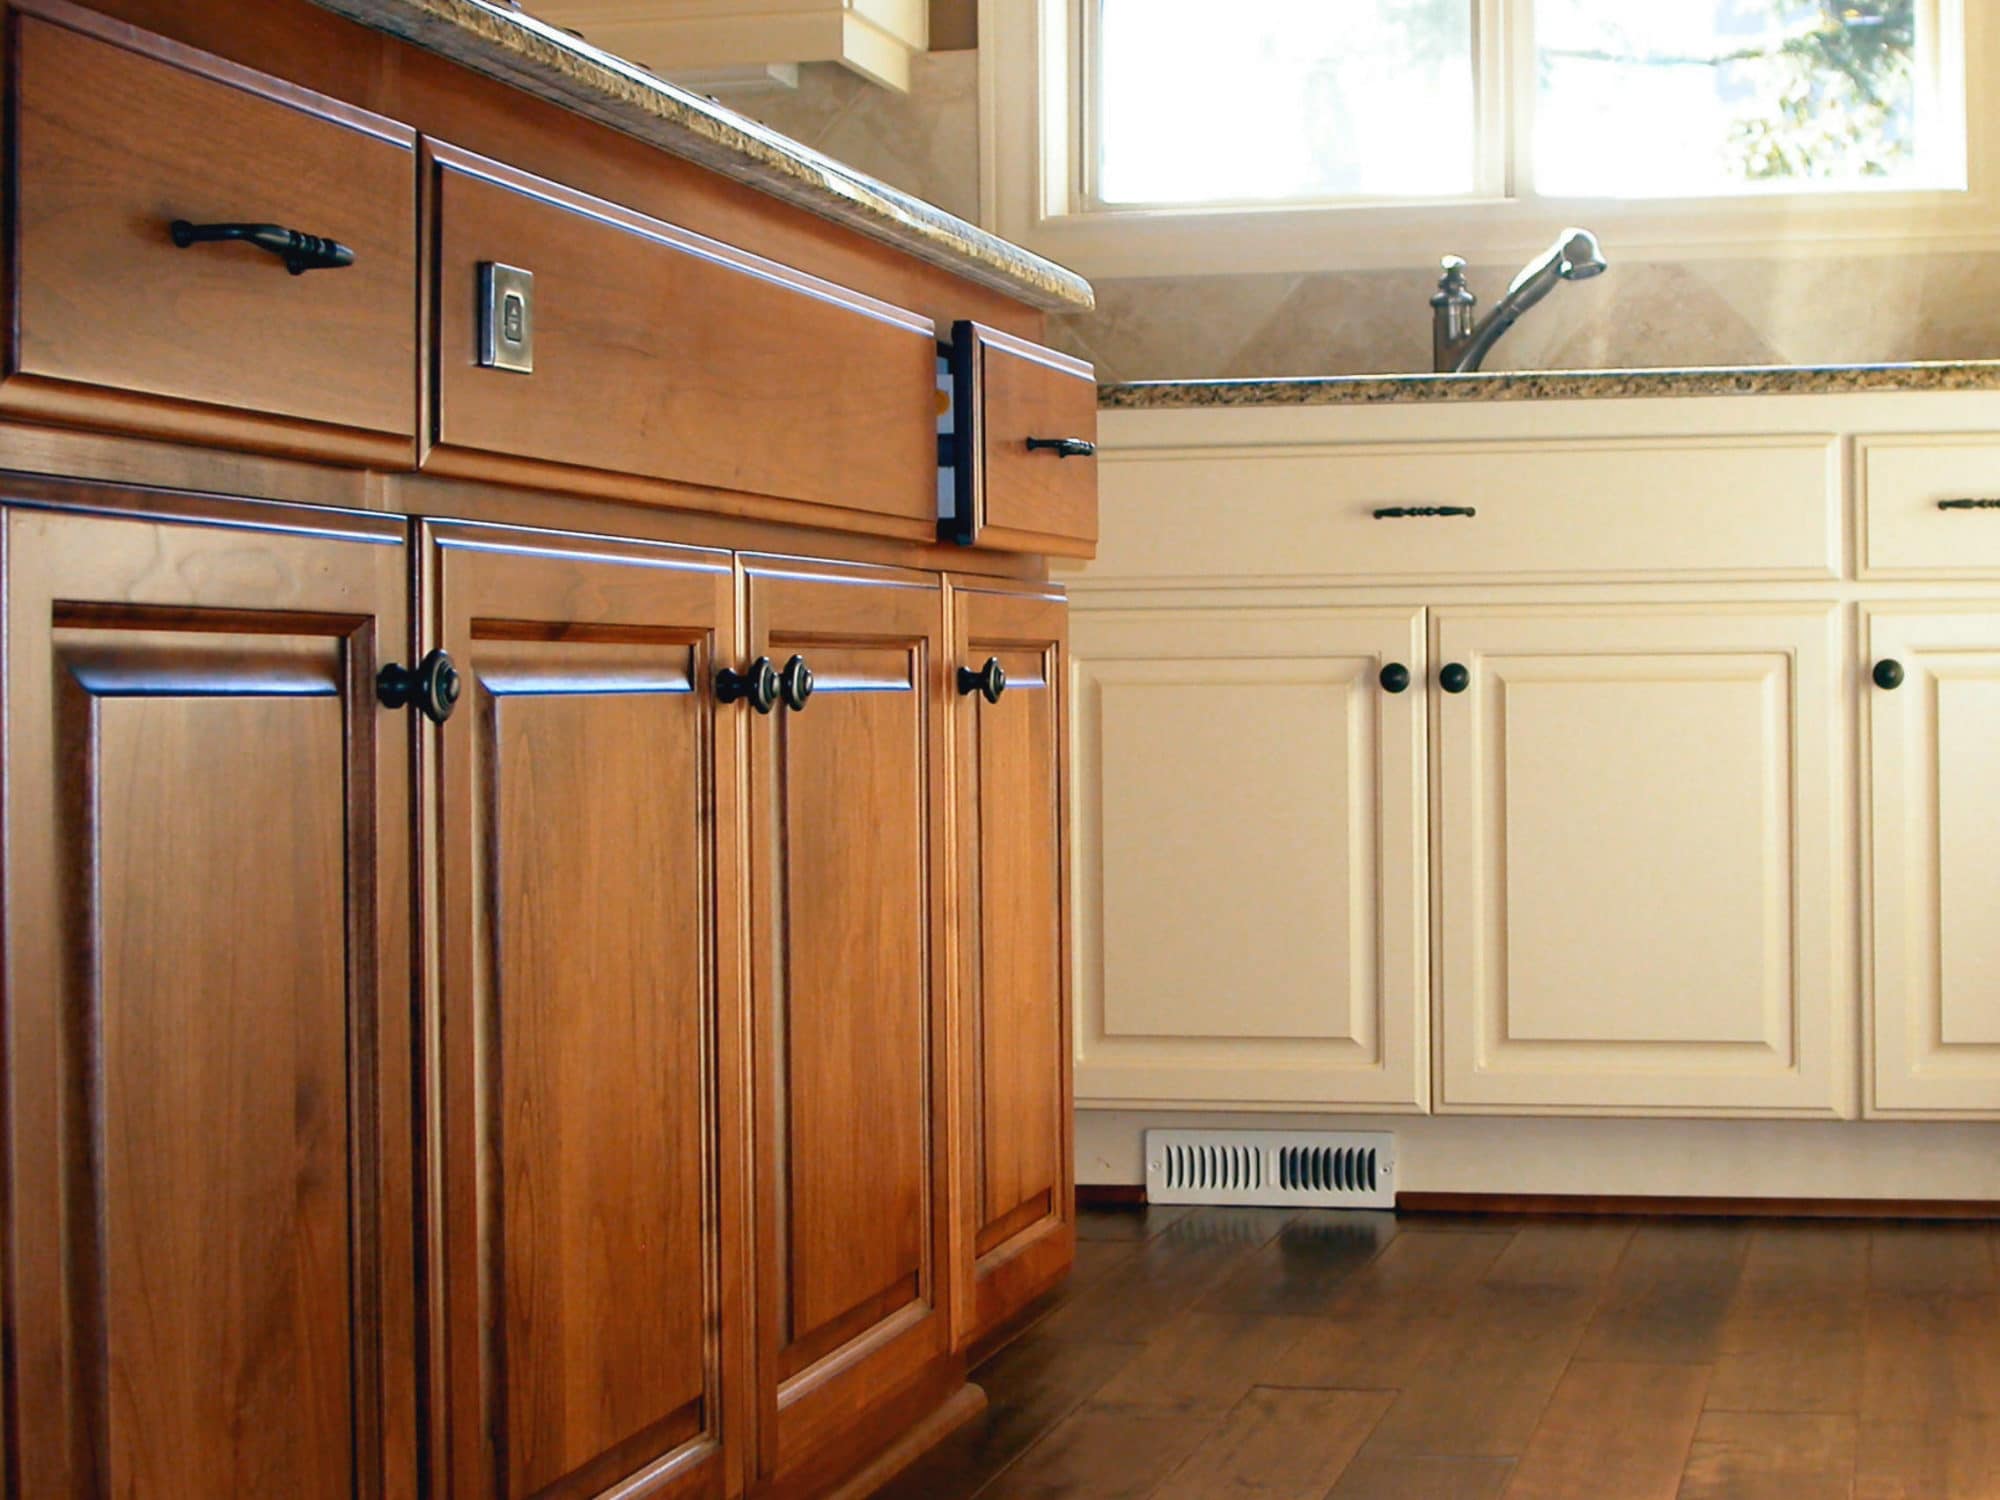
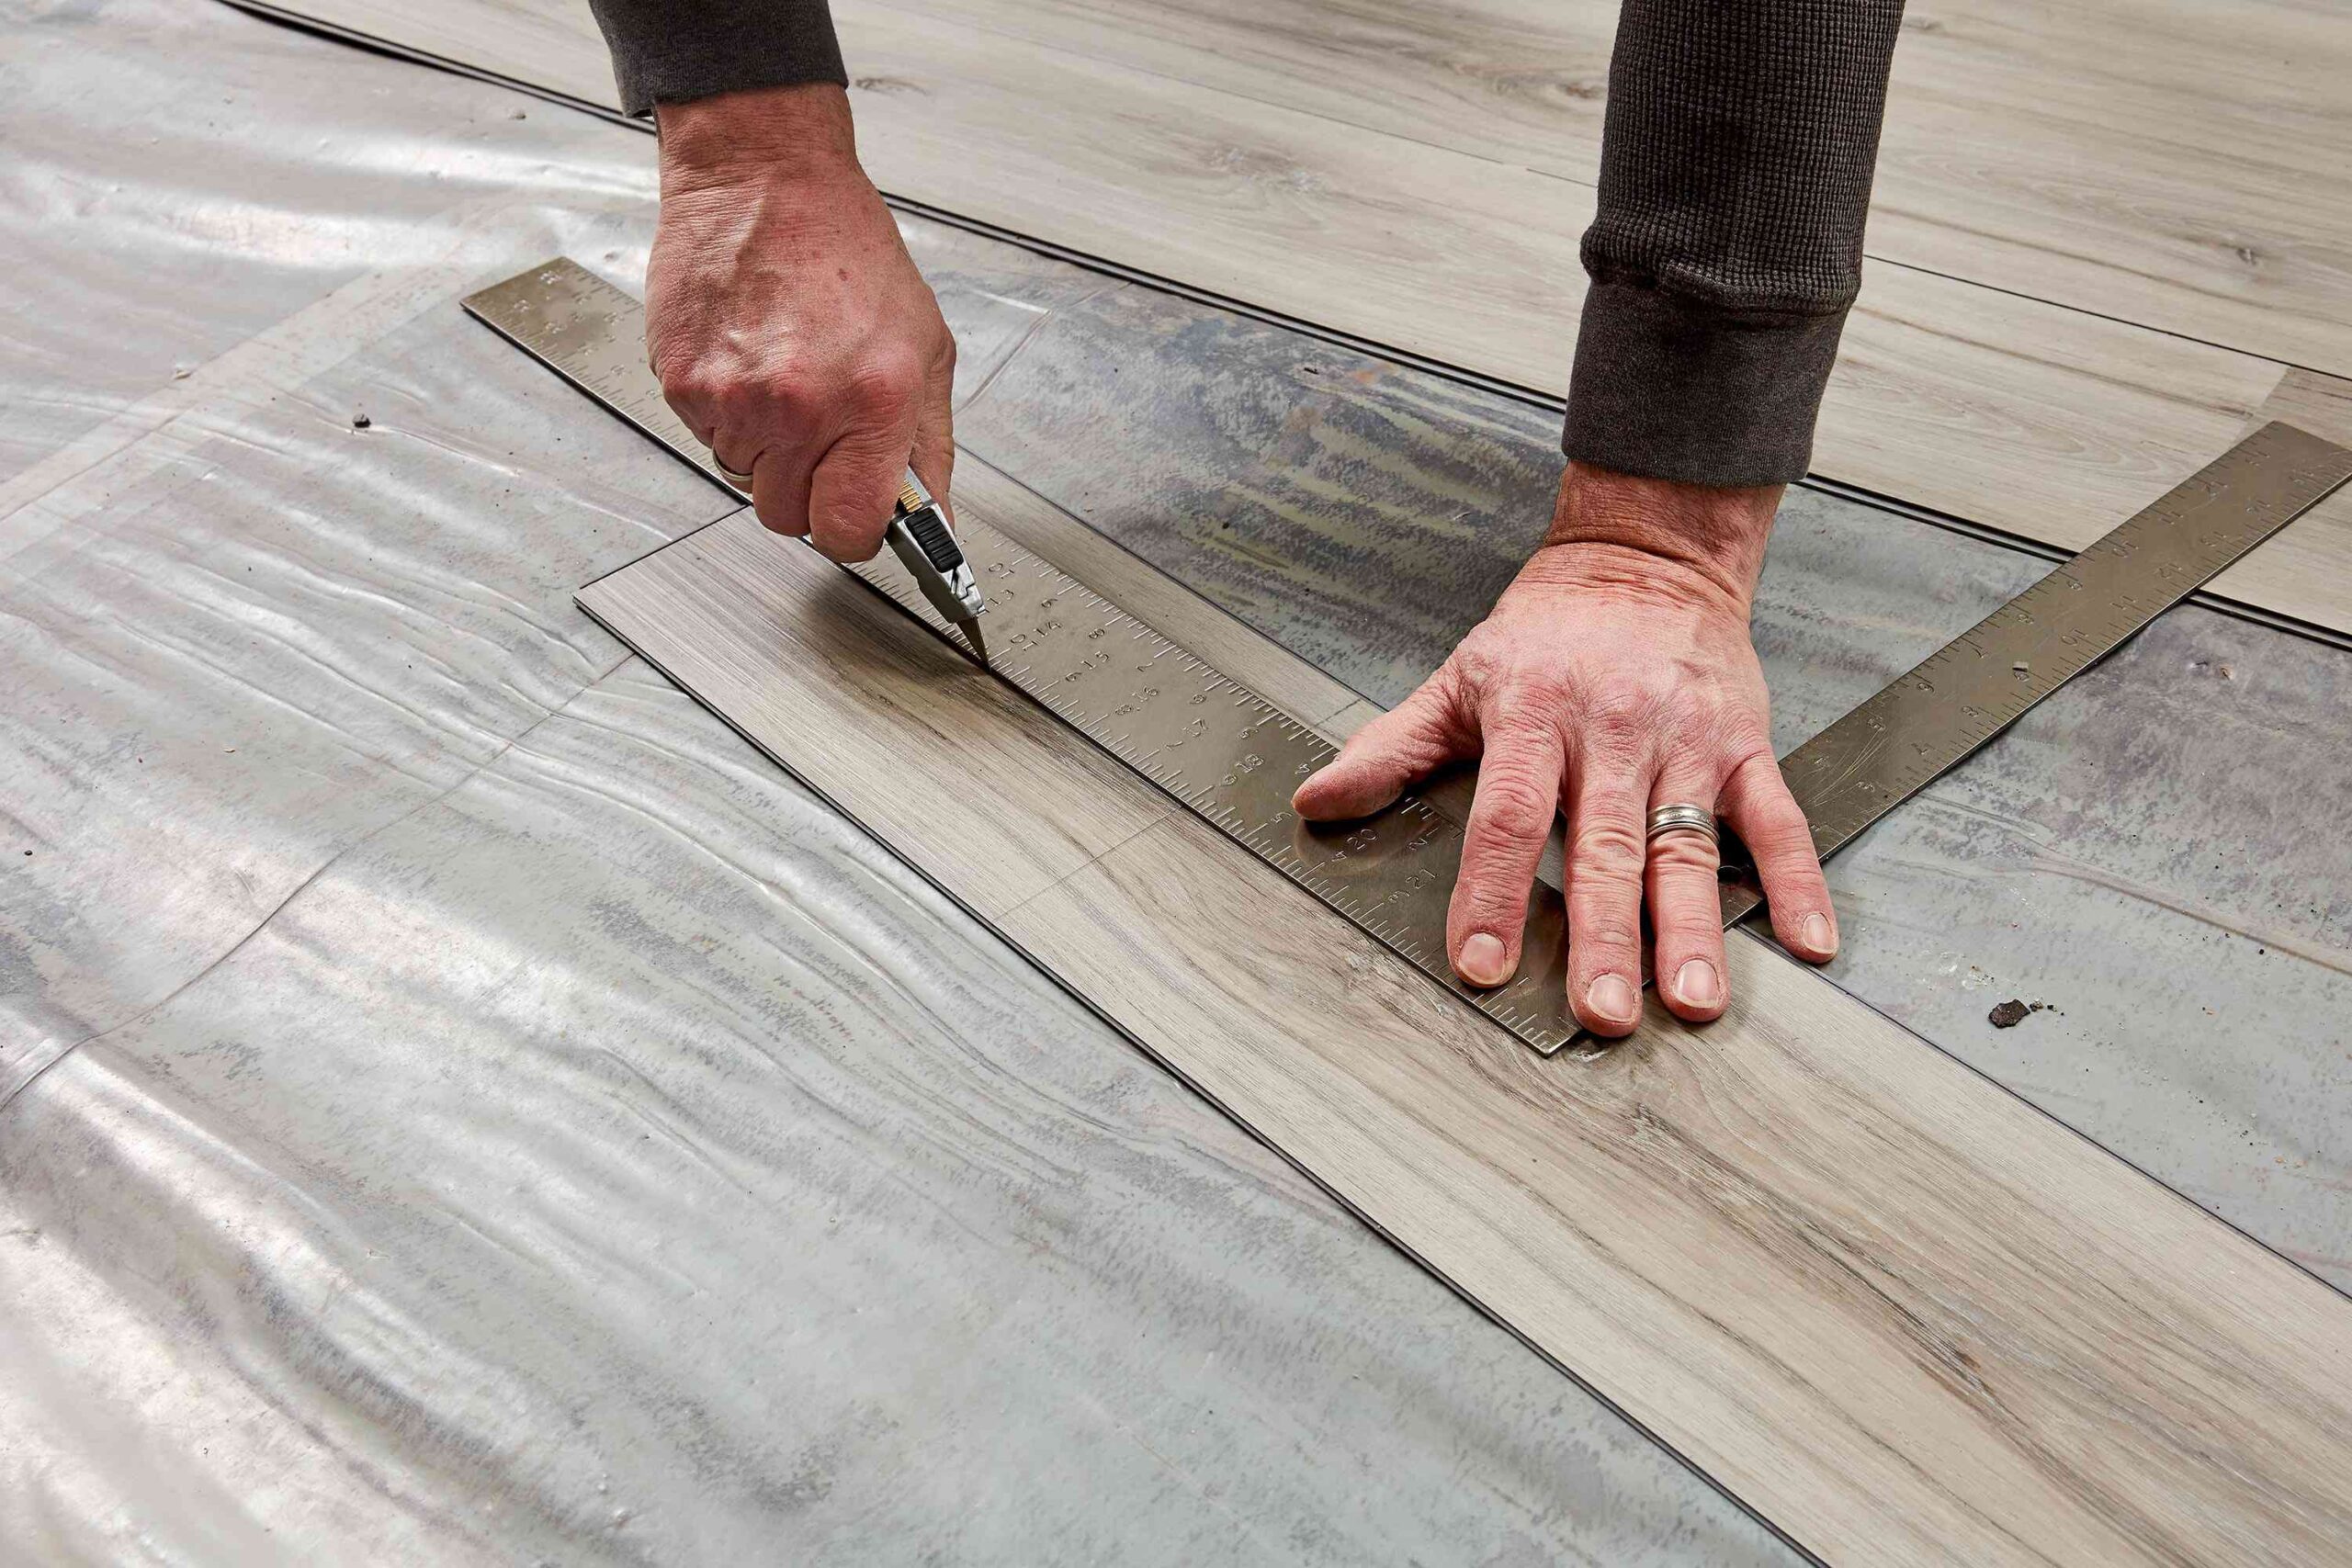
Identifying high spots for your kitchen cabinets is a key component to a successful remodel. If you are not careful, you can easily end up with cabinets that do not fit. This means you’ll have to take extra time to adjust them. One of the most helpful ways to identify high spots for your cabinets is by using a laser level. This level will provide a great reference line throughout the room. It can also help you find a high spot on the floor.

Another option is to use a tape measure. Then hold the 0 ends of the measuring device on the floor and move it around the room. The shortest measurement will be the high spot. Once you’ve identified the high spot, you can start to mark it. You can also use a stud finder to mark the location of the studs on the wall. A bubble level can be used to check for wall bowing. You can also shim the cabinets to compensate for the uneven surfaces.

How to Clean Kitchen Cabinets

Whether you are cleaning your kitchen for the first time or doing it for a while, there are a few basic tips you can follow to keep your cabinets looking clean. These tips include using hot water, vinegar, and baking soda. You can also use an all-purpose cleaner if you want a more permanent solution.

Top Ways to Clean Kitchen Cabinets

  • Baking soda

Using baking soda to clean kitchen cabinets is a great way to clean up the area. It is an eco-friendly, inexpensive, and multipurpose cleaner. It works by removing grime, grease, and food stains. It also acts as a deodorizer. When mixed with water, it creates a thick paste. You can use a scrub brush or a sponge to spread the paste and scrub the cabinets. It can also be used as a spot cleaner. Baking soda is a natural product that can be purchased in many stores. It is not as harsh as many other cleaning products. Mix baking soda with a little water to make a paste. Apply the paste to the stain and let it soak in for several minutes. Then use a clean cloth to remove the paste.

  • Hot water

Using hot water to clean kitchen cabinets is a good way to remove grease and stains. It can also sanitize the surface without leaving residue. You can also use vinegar to remove stains. The method is simple and environmentally friendly. The first step to cleaning kitchen cabinets with hot water is to clean the exteriors. The cabinet exterior should be cleaned with a soft-bristled brush. It is important to clean the interiors, such as the sides and drawer fronts. You can also use a microfiber cloth to wipe your cabinets clean. However, you should change your clothes as they become dirty. Also, you should use a soft eraser to remove any scuff marks.

  • All-purpose cleaner

Using an all-purpose cleaner to clean kitchen cabinets is a great way to eliminate stains and grime. You can also use an all-purpose cleaner to clean laminate and laminated countertops. However, you must read the label carefully and ensure the cleaner is safe for the materials. Some cleaners may damage the finish or paint of your cabinets.

  • Avoid scrubbing brushes

Using a brush to clean kitchen cabinets can cause damage to the finish. Instead, use a soft-bristle brush or a nylon scrubber to do the job. This method can also be used to wipe away dust. Try a paste of baking soda and water for stubborn stains or greasy spots. Apply this solution to the stain, let it sit for a few minutes, and then wipe it away with a damp cloth. This is a safe method to use on painted wood or laminate cabinets. Another method is to use a multipurpose cleaner that contains citrus oil. This type of cleaner can cut through grime and grease and is particularly effective for oak cabinets.

  • Remove food splatters

Taking care of kitchen cabinets can be tough, but there are ways to clean them up. The first step is to determine what type of stains are present. The next step is to choose a cleaning method. The easiest way to clean cabinets is to use hot water. This will help break down stubborn grime and grease. You can also use a cleaning solution for more stubborn stains. Using a sponge is a good method for scrubbing in and around cabinetry. However, you can also use an old toothbrush to scrub in hard-to-reach areas. You can also use a soft eraser to remove scuff marks.

How to Make Oak Kitchen Cabinets Look Modern

Whether you have oak kitchen cabinets that are a little outdated or you want to replace them with modern ones, there are several things you can do to improve their look. From replacing the knobs and pulls to add a crystal or glass knob, there are plenty of ways to update your kitchen cabinets.

  • Paint them a neutral color

Using neutral colors to paint oak kitchen cabinets is a great way to update the look of your home. They can be used with a wide range of styles and help to bring your decor together. They are also easy to match and add interest to your room. When you paint oak cabinets a neutral color, you should choose paints with warm or cool undertones. This will help to balance the oak color and help to soften the finish. If you have honey oak cabinets, you will want to select paint colors with a cooler tone.

  • Add a white subway tile backsplash

Adding a white subway tile backsplash to your oak kitchen cabinets can lighten the space and add a contemporary touch to your home. You can accomplish this goal in many ways, but it all begins with picking the right colors. Choosing the correct gray can significantly affect how the backsplash looks. White subway tile with white grout is the easiest and most effective way to accomplish this goal. This combination is a classic choice that works with almost any design style.

  • Hang colorful canisters or pictures on the wall

Adding color to your cabinets is a great way to refresh your space. You can make a statement with a vibrant cabinet or use a traditional approach. Whether you want to update your current oak cabinetry or create a completely new kitchen design, there are several ways to go about it. Using the right materials and colors will help ensure your new design will complement your existing decor. A light wood countertop is a way to go if you want to update your oak kitchen cabinets without tearing them out or replacing them. You can also update your cabinetry by painting them. A white or gray color will help balance the weight of the heavy wood surfaces.

  • Replace the knobs and pulls

Changing the knobs and pulls on oak cabinets can make a kitchen feel fresh and modern. It doesn’t need to be a renovation project or a huge investment. It can be done on the weekend. Kitchens get messy, so a knob or pull with a functional design can make the place feel cleaner. While you don’t want your cabinetry to look overdone, you don’t want it to look plain. You can find knobs and pulls in various finishes, shapes, and sizes. Some are fun and whimsical, while others are sleek and contemporary. To choose the best ones for your kitchen, you’ll need to consider what kind of cabinets you have. Cabinets with higher cabinets will be easier to open and close with pulls. Cabinets with lower cabinets can be more difficult to grip, but a knob can make opening those cabinets easier.

  • Add a crystal or glass knob

Adding a crystal or glass knob to oak kitchen cabinets can make them look modern, elegant, and classic. It is an easy way to give your cabinetry a sophisticated finish. It is also a decorative element that will light up your kitchen. To find the perfect knob, you may want to look at Amazon. It offers dozens of different brands and a wide variety of prices. It also offers a detailed search filter, which lets you drill down to the product you want. You can even browse by category or save items to your wish list. If you’re not sure about the size or color of the knob you want, try giving it to a professional for a sample. A professional can give you a better idea of how it will look in your kitchen.

How to Paint Kitchen Cabinets

Whether you’re looking for a quick paint job or a more permanent, durable solution, there are a few things to consider before you begin. We’ll cover Primer, Preparation, and Methods. You’ll also learn about the colors to use.

  • Preparation

Whether you’re painting your kitchen cabinets for the first time or looking to spruce up the existing ones, you’ll need to be prepared for the task. The following preparation tips will make your project go smoothly.

  • First of all, you’ll need to empty the cabinets. This will allow you to clean out the old paint. You’ll also need to clear the counters and floor of any debris.
  • Next, you’ll need to sand the cabinets. This will help your paint stick to the wood better. Using fine-grit sandpaper will be a must.
  • Next, you’ll need to find a high-quality primer. This is the foundation of any successful paint job. Using a high-quality primer will ensure a long-lasting finish.

You’ll also need to find the best paint for your cabinets. It should match the existing paint color and coordinate with your appliances.

  • Primer

Choosing the right primer when painting kitchen cabinets can be a tricky process. You need to choose a product that will work for your cabinet surface and will also hide any imperfections. Fortunately, there are several options to choose from. These primers will ensure that you get the best results.

Oil-based primers have traditionally worked better than other types. They tend to fill the grain of the wood and are less prone to peeling. You should use these types of primers when you’re painting cabinets, and you should also use latex paint. If you want to paint kitchen cabinets but don’t want to use an oil-based primer, you can use a water-based primer. These primers are also effective but can be a little bit more difficult to clean up.

  • Methods

Having your kitchen cabinets painted can be tedious, but some basic techniques can make it a lot easier. While it’s possible to sand your cabinets and apply a layer of paint in one day, it’s best to allow at least two days to work its magic. The main goal of painting kitchen cabinets is to produce a durable finish. The best way to achieve this is to use high-quality paint. If you opt for laminate paint, choose one that dries hard enough to withstand a lot of heat from your stove. This will ensure that your cabinets are protected against heat and steam from the oven.

There are two basic methods of painting kitchen cabinets: the paintbrush and the paint roller. For larger spaces, the paint roller will likely be the best option. But before you begin, ensure that you have protective clothing and a clean work area. The last thing you want is to scratch your paint job.

Which Colors to Choose for Your Kitchen Cabinets

Choosing the perfect color for your kitchen cabinets can be a challenge. You want to choose one that will complement the rest of your room and tie it into the rest of your decor. Choosing one color cannot be easy because there are so many options. Here are a few tips to help you choose the best cabinet color for your kitchen.

  • If you are considering painting your kitchen cabinets, try to choose a color that will make the room look larger. For example, a light shade of yellow will make the room feel bright and cheerful. The same color will also pair well with various accent colors.
  • Another option is to choose a paint color with the same undertone as the cabinets. This will make the room look more spacious and will draw the eye.

Before beginning your cabinet painting project, you should plan your budget and schedule. This will help ensure you have enough room and time to complete your project.

How to Organize Kitchen Cabinets

Organizing your kitchen cabinets is a great way to get a bit more space in your kitchen. However, you must ensure that you take the necessary steps to organize your space. If you don’t do so, you could find yourself having a hard time when you are cooking and need to get food into your kitchen. The key is to ensure you get everything out of the way when you are not using it. In addition, you need to ensure that you are cleaning up the mess when you are done.

Whether you have a large kitchen or a tiny space, there are several ways to organize your kitchen cabinets. A well-oiled system should be easy to set up but require a few essential accessories to get the job done. The best way to organize a kitchen cabinet is to sort by category. For instance, you’ll want to store cereal and snacks in one spot and fresh fruits and vegetables in another. You’ll want to use a plastic corner bin if you have a corner cabinet. A good cabinet organization system should include a divider near the prep area. This helps keep items in the order and allows you to easily find what you need when you need it.

Different Ways to Organize the Kitchen Cabinets

  • Bins

Having bins to organize kitchen cabinets is a great way to keep your kitchen neat. These organizers can be used in the refrigerator, pantry, and kitchen. They are easy to use and help keep items organized. For the most functional bins to organize kitchen cabinets, look for one with sturdy materials. Ones with lattice-style lids, perforated lids, and transparent lids are best. These items also help keep canned foods from leaking.

  • Turntables

Using turntables for organizing kitchen cabinets is an easy way to keep items organized and easy to reach. These products are designed to fit into most standard kitchen cabinets and refrigerators. They come in many different designs, shapes, and colors and can help you organize everything from spices to leftovers. When shopping for a turntable, make sure you buy one made of durable materials. These can help prevent the items from falling off the shelf and breaking. Most are made from wood, plastic, or stainless steel. You’ll also want to look for one that features a non-slip surface. You can also find a few with handles, making it easy to grab a section.

  • Movable pegs

Whether you’re trying to declutter or reorganize your kitchen cabinets, movable pegs are a great way to keep items in place. They can be used to organize any size object. This is a great way to organize your dishware, tools, and other kitchenware. Pegs have been popular for decades. They are typically prized for their functionality and look. They can also be used to organize your drawers. You can buy a system that fits snugly into your drawers. They come with 16 adjustable pegs and non-slip feet. You can also use these types of pegs to organize your baking sheets. Hanging these items frees up valuable cabinet space. This method also keeps your cookware in sight.

  • Airtight containers

Using airtight containers in your kitchen cabinets helps to keep food fresh and saves space. They also prevent moisture and pests from getting into your food. They are great for storing dry goods, such as cereal, pasta, and rice. You can purchase containers individually or in sets. These containers come in a variety of shapes and sizes. They can be stacked, too, which saves space. You can also purchase sets with multiple lids. The lids on glass storage containers have tight seals to keep out moisture, which helps to keep your food fresher. They also resist staining. They aren’t recommended for freezing or microwaving. Glass canister sets are also useful for storing dry food items like grains.

How to Clean Grooves in Bamboo Dark Luxury Vinyl Plank Flooring

Distressed bamboo plank flooring features a subtle textured surface and depth. The process of distressing adds character to the wood and camouflages the natural markings and imperfections that appear in hardwood flooring. It also reduces the need for refinishing.

While Luxury vinyl plank flooring is easy to clean, it is important to take care to maintain the finish. You must follow proper cleaning instructions in order to preserve the beauty and durability of your floors. Below are some tips to help you keep your floor looking like new. You should always vacuum, mop, and clean your floors on a regular basis.

Bamboo flooring can be scratched by small abrasive particles that are tracked in from the outside. It is important to protect it from abrasive materials such as water and gravel. Always remove outdoor footwear before stepping on the floor. Otherwise, it can scratch and damage the finish. You should also avoid dragging heavy items across the flooring. If you can’t avoid dragging items across the floor, use felt pads to protect them.

Before you install the bamboo flooring, prepare the subfloor with a self-leveling compound. If you’re installing bamboo plank flooring on a wooden subfloor, make sure there are 10mm spacers between the rows. This way, you’ll be able to adjust the thickness of the planks.

Bamboo is a great flooring material for many reasons. Not only is it eco-friendly, but it is also high heel-safe. Bamboo flooring can also be pet-friendly. In addition, it comes in different fitting profiles. Home Depot’s Home Decorators Collection has many affordable options in high-quality materials. Choose from different designs and textures, including bamboo, and save money. It’s also easy to install and maintain.

When cleaning bamboo floors, remember to avoid using acidic cleaners on them. These can wear away the finish and make it hard to recoat. A neutral pH hardwood floor cleaner is best. It contains no acid and is safe for flooring. However, acidic products can cause the floor to look milky and dull.

When it comes to cleaning bamboo floors, you can use hardwood cleaners or bamboo cleaners. These will protect the finish and prevent stains. The cleaners are inexpensive and easy to apply. Always avoid harsh chemicals and do not use carpet cleaners. Harsh cleaners can scratch and damage the floor’s surface. For best results, use pre-mixed cleaners made of non-toxic ingredients.

Bamboo flooring should be cleaned frequently to avoid dirt accumulation. If dirt and debris are left on the floor for long periods of time, it can lead to scratches. However, bamboo is also more prone to deep liquid stains than hardwood. For this reason, you should avoid spilling water on the floor and instead wipe up any stains with a clean, dry rag. If spills are unavoidable, use a damp mop to remove surface dirt.

How Much to Paint Kitchen Cabinets White

The price of painting your kitchen cabinets depends on the type of paint and the finish you want. Professional painters charge from $20 to $50 per hour and use expensive paint sprayers to get a smooth finish. Choosing the right paint product is not easy and may take some research.

While hiring a paint professional may seem the best option, you can save money by painting your cabinets. Painting a single cabinet will save you between $500 and $10,000, and it will also save you from having to hire an expensive painter. The price of materials can range anywhere from $50 to $500 for a gallon. If you are a first-time painter, you will likely need a paint sprayer.

The paint sheen you choose is another important consideration. The glossier the paint, the more expensive it is. Satin, on the other hand, is less reflective and will show dirt less than glossy. If you aren’t sure what type of paint to use, call a paint professional and find out what they recommend.

Paint costs vary widely depending on the size of your kitchen and the number of cabinets. Larger kitchens will require more paint and time so they will cost more than small ones. However, you can reduce costs by using less paint. However, you must be careful not to sacrifice the appearance for the sake of saving money. If you decide to hire a painter, you should know how much they charge before you start.

Professional painters will charge higher fees for their services. But compared to DIY painting, you can still save a lot of money by hiring a professional to do it for you. And hiring a painter will also make the entire project faster and easier, and it will also increase the resale value of your home.

Depending on the materials used and the complexity of the project, you can expect to spend up to $800 or more for kitchen cabinet painting. A professional painter will provide you with an estimate based on the length of the cabinetry and the number of doors and drawers. The cost will also depend on the type of paint and prep work required.

You may not have to replace your entire kitchen, but you can still make your kitchen more stylish by choosing a different color. You can paint existing cabinets and add new doors to give them a new look. This project will cost less than a new set of cabinets. You can use the cost calculator to determine the cost of different materials.

The cost of hiring a painting contractor to paint your kitchen cabinets varies, but on average, it will cost about $697 for a medium-sized kitchen. You will pay an additional $200 to $7200 for larger kitchens. Painting kitchen cabinets is a great way to improve the appearance of your home and save money on other remodeling projects.

Who Manufactures the HomeInteriorsCollection Luxury Vinyl Plank Flooring?

Luxury vinyl flooring is a great option for your kitchen. It’s water-resistant and can mimic wood, stone, and tile floors. Plus, it’s affordable and easy to maintain. This flooring is becoming increasingly popular, and there are many options to choose from. If you’re unsure which style to choose, start by asking your local flooring store. Many flooring options come with waterproof coatings, so you don’t have to worry about spills.

In addition to vinyl flooring, there are several options for luxury vinyl tiles. These tiles are three millimeters thick and are easy to maintain. You can choose from various colors and patterns, and you can also select from various tile and plank styles.

Luxury vinyl plank flooring is available in many different styles and finishes, with endless options. You can choose from a single plank in a single room or mix and match different colors throughout the house. You can choose from neutral colors that will suit any room.

Luxury vinyl tile is waterproof and durable and makes a perfect flooring choice for high-traffic areas. Its unique manufacturing process ensures durability and comfort at the same time. It is available in many different styles, including waterproof, scratch-resistant, and wood-look styles.

How to Mix Patterns in Luxury Vinyl Plank Flooring Installation

If you are planning to mix patterns in your Luxury vinyl plank flooring installation, there are some simple steps to follow to ensure that the end result is a stunning, natural look. First, measure the length and width of your floor and divide the length by the width of the planks. This will give you an idea of how many full rows you need to cover the floor area. Then, divide that number by the width of the last row and the first row. Be sure that the planks on the last row are the same size as those in the first row.

Next, choose a pattern. There are many different patterns available for luxury vinyl flooring. One popular choice is the Madal pattern, which is comprised of alternating square and rectangle tiles. This pattern looks great in a contemporary home and can be mixed with both one-color and two-color variations. This type of pattern is available in many different sizes, making it a versatile option for your flooring project.

Whether you prefer a random or a regular pattern, there is a perfect luxury vinyl tile design for you. Random patterns are perfect for those who want a random look but still want to incorporate a variety of colors. You can use this design to create a seamless look for your entire home. Just make sure you know how to mix patterns properly and you’ll end up with a look you love.

One way to make your luxury vinyl plank flooring look unique is to stagger the planks. While this method may not work for everyone, it can add strength to the flooring and boost its appeal. Try experimenting with the minimum spacing between the planks and then randomly lay them down until you find the one that suits your needs the best.

Next, decide how thick your luxury vinyl plank flooring will be. It is better to buy a thicker vinyl plank than a thin one because it will give your flooring a more secure grip on the floor. Thicker planks are easier to install, but it is recommended to install them over a subfloor. Make sure to purchase planks that are at least 5 mm thick. Thinner planks will not adhere properly to your subfloor and may have gaps.

Mixing patterns in luxury vinyl plank flooring is possible using multiple color and pattern options. Vinyl plank flooring is easy to install and is very low-maintenance, and it doesn’t require expensive tools or specialized training. In addition, it can be easily cut and installed, making it perfect for bathrooms and kitchens.

Next, choose the flooring that is the best match for the rest of the room. LV flooring comes in a variety of patterns, textures, and wood species. When you mix and match patterns, you can add personality and uniqueness to any room. Just remember to choose planks that have the same thickness and rectangular shape.

You can also mix and match individual tiles of luxury vinyl flooring. This way, you can get a custom-designed floor that is unique to your room. You can choose from patterned or solid colors to create an eye-catching design that will be the focus of your home’s decor. You can also select a checkerboard, herringbone, or chevron pattern, and these patterns will make your flooring look more elegant and stylish.

How Much Is Luxury Vinyl Plank Flooring Installed Per Foot?

Luxury vinyl plank flooring is more expensive than sheet flooring, but it’s also easier to install. Plus, it mimics hardwood floors better than sheet flooring. However, some factors must be considered before hiring a contractor for your project. Below are some things to consider before choosing a luxury vinyl flooring installation service.

Ensure that your subfloor is perfect before installing luxury vinyl flooring. If your subfloor isn’t perfect, the flooring won’t stick properly. If your subfloor isn’t flat, you’ll need a saw. However, you can also use an oscillating multi-tool to cut door frames. For the most accurate results, hire a professional installer. This way, you won’t end up paying more than necessary.

Luxury vinyl plank flooring installation prices vary from region to region. The price you pay will depend on the materials used and the level of expertise needed. You’ll pay more if you need a master craftsman or premium materials. If you’re unsure what you’ll need, get a written estimate from a reliable trade professional. You can compare quotes and choose the best one for your home.

Before deciding on the cost of luxury vinyl plank flooring installation, consider how much you need to pay for the material and labor. Depending on your budget and the quality of the material, you can pay between $1 to $5 per square foot. Make sure you ask the professional installer to explain installation and disposal costs.

The price of luxury vinyl plank flooring can vary widely from $5 to $6 per square foot. The wide price range is largely due to the materials’ quality and the flooring’s construction. Some luxury vinyl planks contain ceramic beads, which make them tougher. On the other hand, Armstrong uses a wear layer made from crushed lab-created diamonds, which is supposed to make it more durable. Only time will tell whether this technology will make the material more durable and attractive.

Despite the cost of luxury vinyl plank flooring installation, it is relatively easy to clean. Regular sweeping and vacuuming will keep your vinyl flooring clean. Mopping with vinegar and hot water will help cut through dirt and debris without leaving streaks. Some manufacturers include a warranty policy with their new vinyl plank installations.

Luxury vinyl plank flooring is often made of rigid core material that mimics the look of real hardwood flooring. This type of vinyl is waterproof and usually includes a sound-absorbing pad underneath. It is also installed with a click-together or a loose-lay design, meaning each plank abuts the other. The planks can be installed over any level substrate.

When choosing luxury vinyl plank flooring, consider the budget you have available. If you’re looking to save money, consider purchasing your flooring online. However, it’s important to consider the installation cost, and it can be expensive if you’re not a professional at installing flooring.